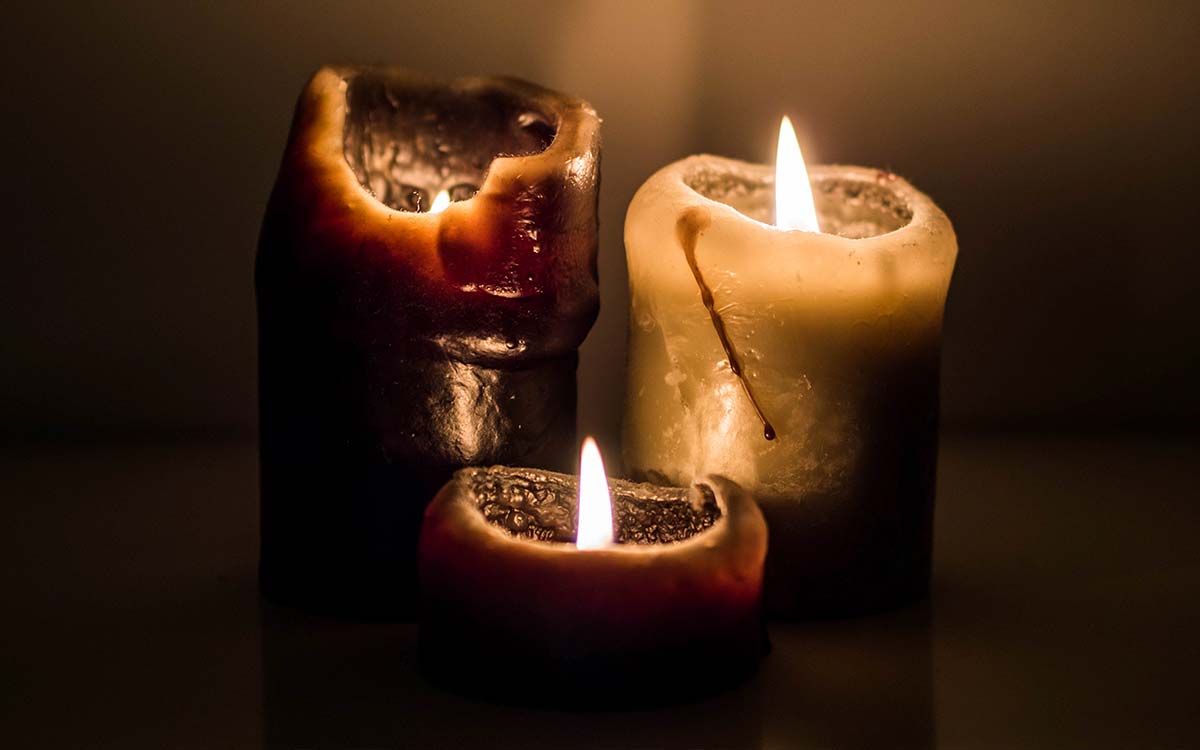
Photography is all about capturing light. Some refer to it as “painting an image with light”. But what if there’s little to no light? A situation like this does not hinder a photographer. Rather, it’s an undertaking that will maximize knowledge, skills, and resourcefulness to the fullest. There are different types of low light settings:
- when you’re in the shadow areas during daylight
- moments after sunset when the area starts getting dark
- night time
- room with limited light sources
Whatever the setting may be, here are some tips that’ll help you conquer your fear of the dark, and capture great photos:

• ISO
ISO measures sensor sensitivity. A low number means less sensitivity to light and finer grains. During low light scenarios, the ISO is set at a higher number. You’ll need more light sensitivity to capture as much light as possible. This, of course, will result in more noise. Adjust your ISO to different settings to find the amount of noise you’re comfortable with. A noisy image is better than a blurry one. You can reduce or remove noise during post processing using photo editing software and specialized noise removal programs. Mimicking sharpness is a much harder feat.
• Shutter speed
Another element to tweak exposure is the shutter speed. This is the time for which the shutter opens and fully exposes the camera sensor to the light. Hence, the longer it’s open, the more light exposure the sensor gets. For this element, you have to find the right balance between more light and less blur. Shoot at the highest shutter speed possible to avoid blur. But shoot low enough to allow light. Doubling your ISO will double your shutter speed. This will give you enough room to find the optimal setting. If you intentionally want to capture blur (specifically motion blur) to add a sense of motion to the image, then go for long exposure. Be sure to keep the camera as still as possible though.

• Aperture
The last element in our exposure triangle is the aperture. It’s the hole through which light passes. The bigger the opening (smaller aperture value), the more light passes. So, set the aperture to the smallest value.
• Stabilize
Stabilization will help you out in low light situations even more. It boosts the results of the exposure triangle settings. Eliminate blur and take a sharp photo. Learn how to stabilize yourself and hold your camera firmly. Better yet, use a tripod or place the camera on a stable surface/support.
• Flash
One of the most logical things to do is use flash. Many photographers refuse to use on-camera flash because of the glaring “flash look”. Some cameras allow you to adjust the flash intensity. Or you can play with the ISO, aperture, and shutter speed to get the right blend. If you’re using speed lights, try bouncing the flash by tilting it towards a ceiling or wall. Diffuse it if you can. Use other available light sources as fill light or even as key light.
• Shoot in RAW
Shooting in RAW preserves a wider range of information, which is immensely helpful during post process. You’ll be able to recover details and adjust the image without affecting the quality.

• Manual Focus
Auto focus will not function properly when it’s too dark. Even if your camera is equipped with AF Assist, it may still not be enough to illuminate your subject for the camera to focus. Switch to manual focus instead. Setting the lens focus to ‘infinity’ works great, but some cases will call for trial and error. Use a flashlight or phone light to aid in focusing.
It takes knowledge, practice, and mistakes to capture great photos in low light. But like life, photography isn’t always sunshine and rainbows. Don’t be afraid to step into the dark. You may find yourself stepping out to the light equipped with a new arsenal of photography know-how.


